It’s been a long time since I’ve posted anything. Between moving, changing jobs, and trying to get some hobby time life has just been in the way. Lately I’ve been experiment with chipping for one of my upcoming projects. I’ve learned a few things and wanted to share.
I started with a pre-shaded undercoat and gave it a dark burnt umber type color using P3 Cryx Bane, P3 Umberal Umber, P3 Bloodstone, and P3 Khador Red Highlight. The less neat you make it the more dramatic it will be so I feel mine was too neat at this stage:
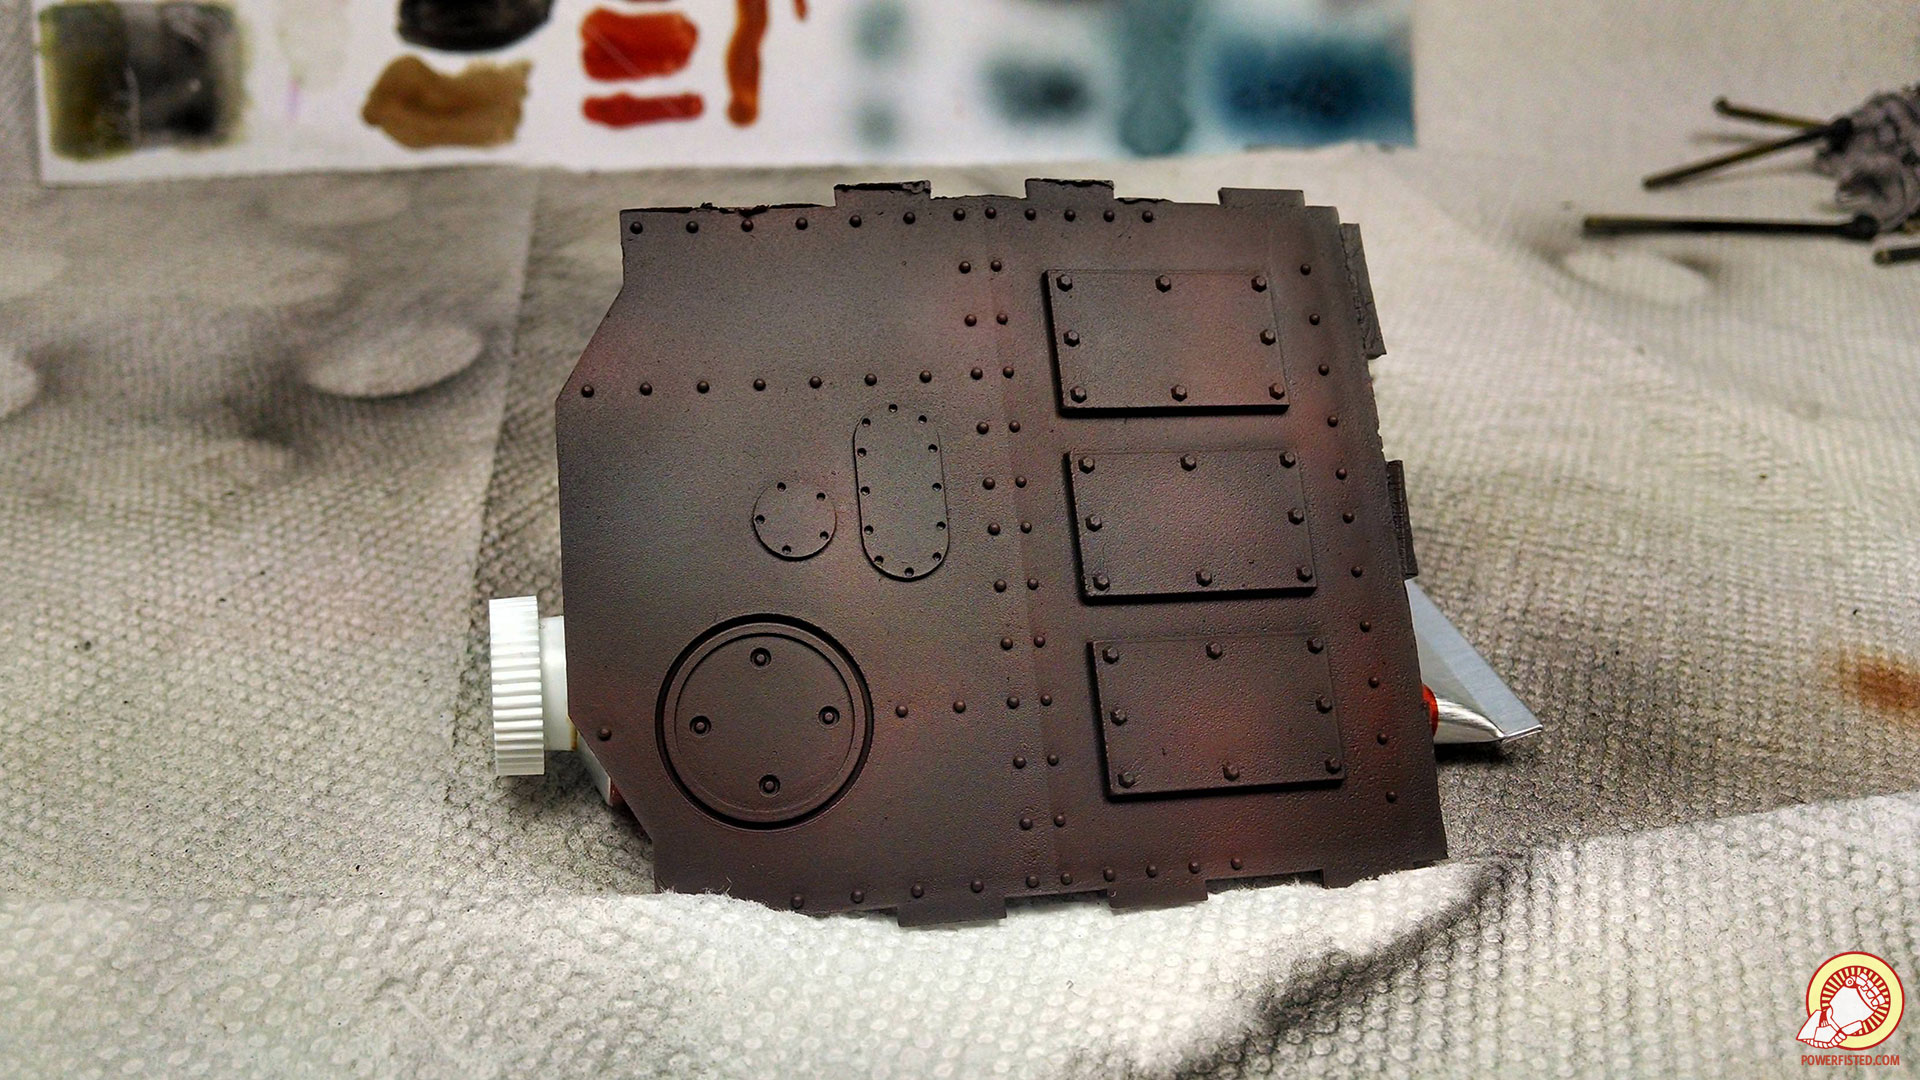
Then I gave it an oil wash using some burnt sienna. Oil washes are easy to make on demand, so I did it in my mixing palette. I used steel wool (no pressure applied, just for texture) to smear the wash around and remove it from some spots:
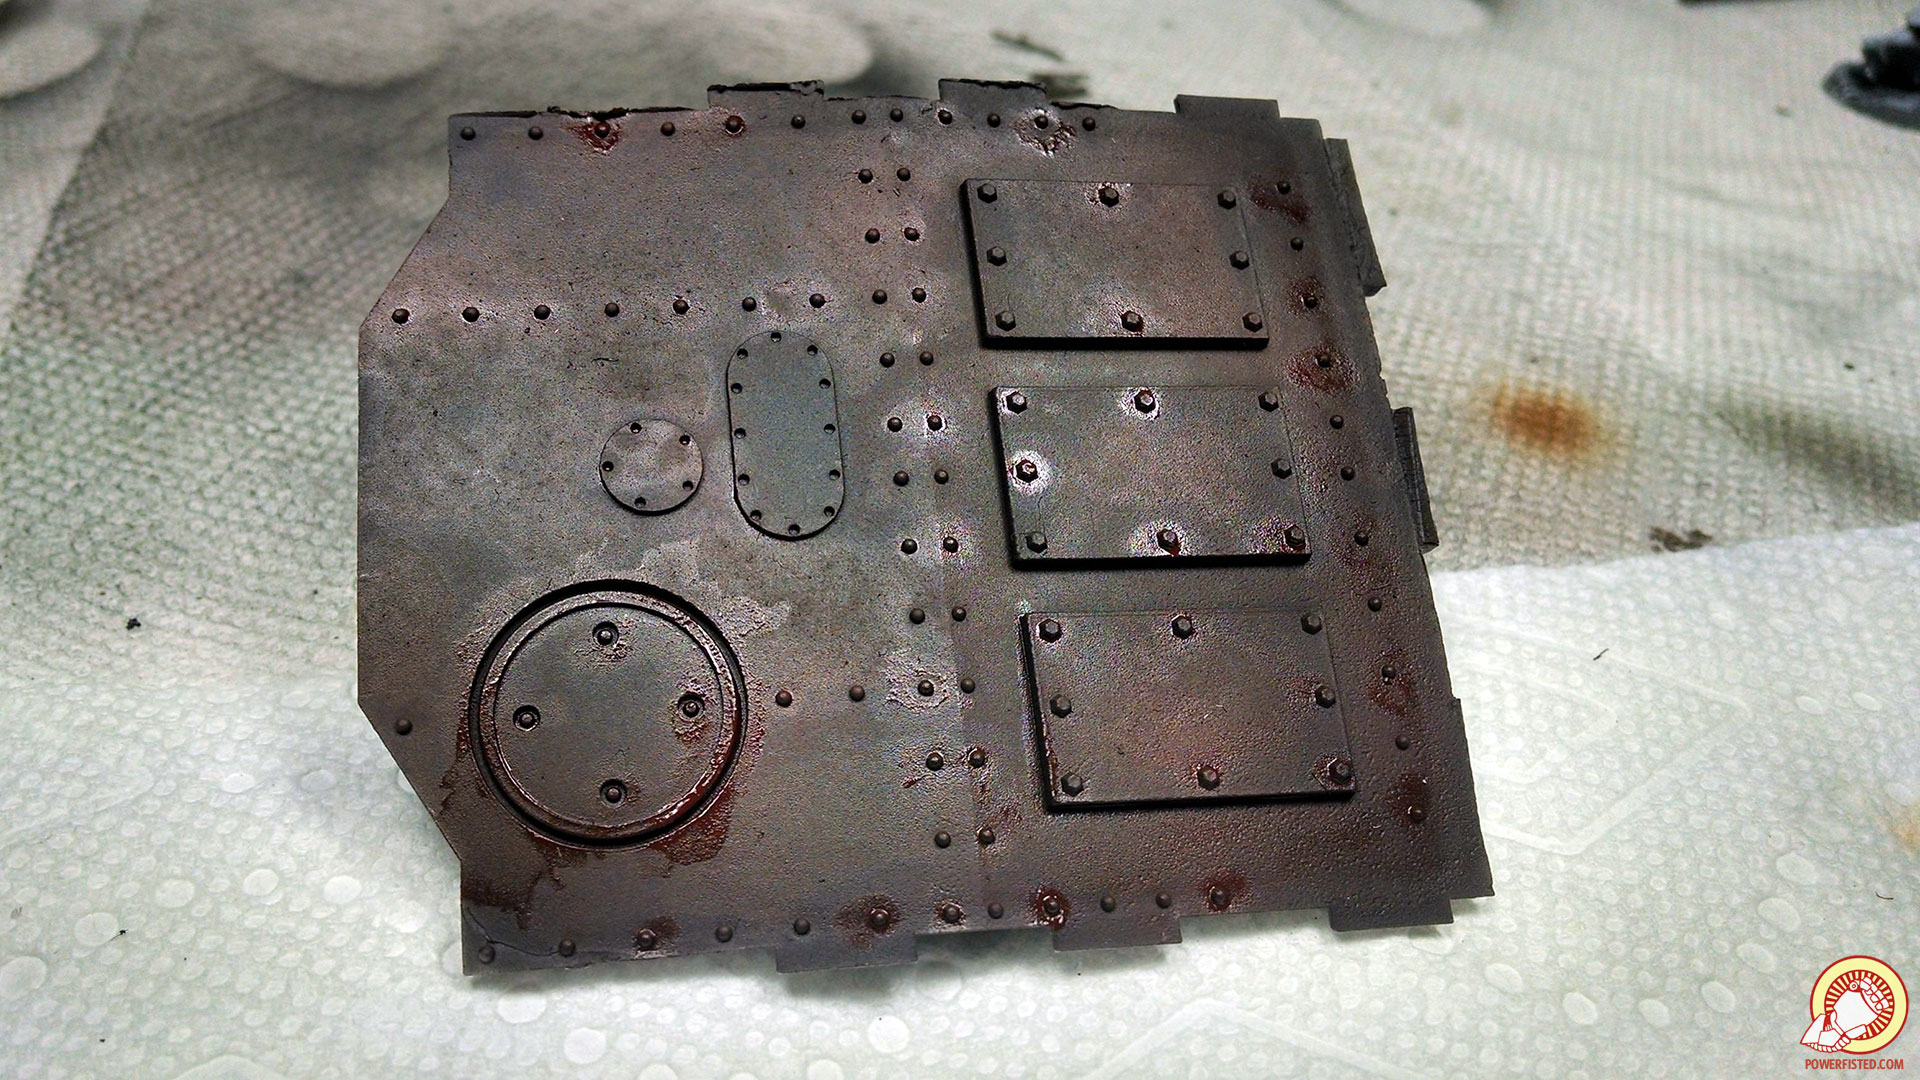
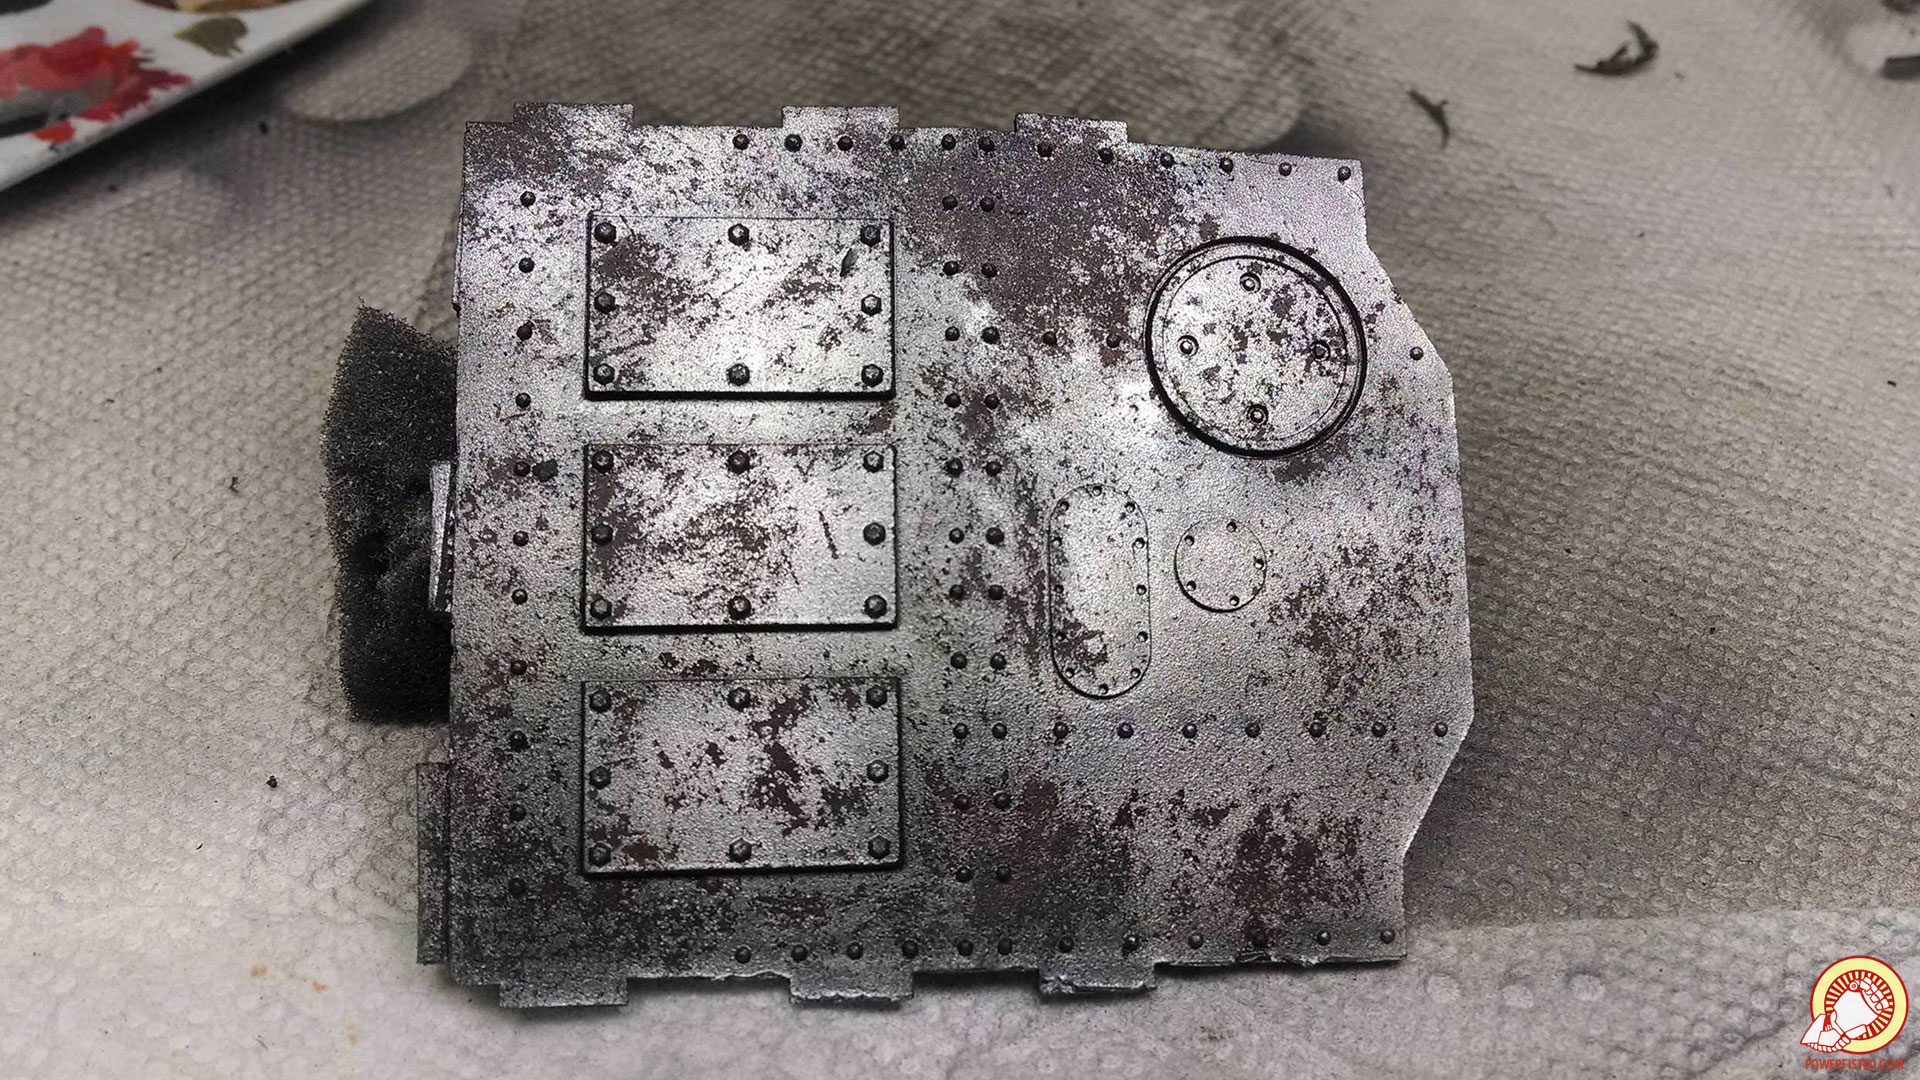
I sealed it with gloss varnish and then I applied my chipping fluid. After it was dry I hit it with a metallic midcoat using 3 colors (VMC Magnesium, Dark Aluminum, and Chrome) working up from the dark color to the light. Then I chipped it using a brush:
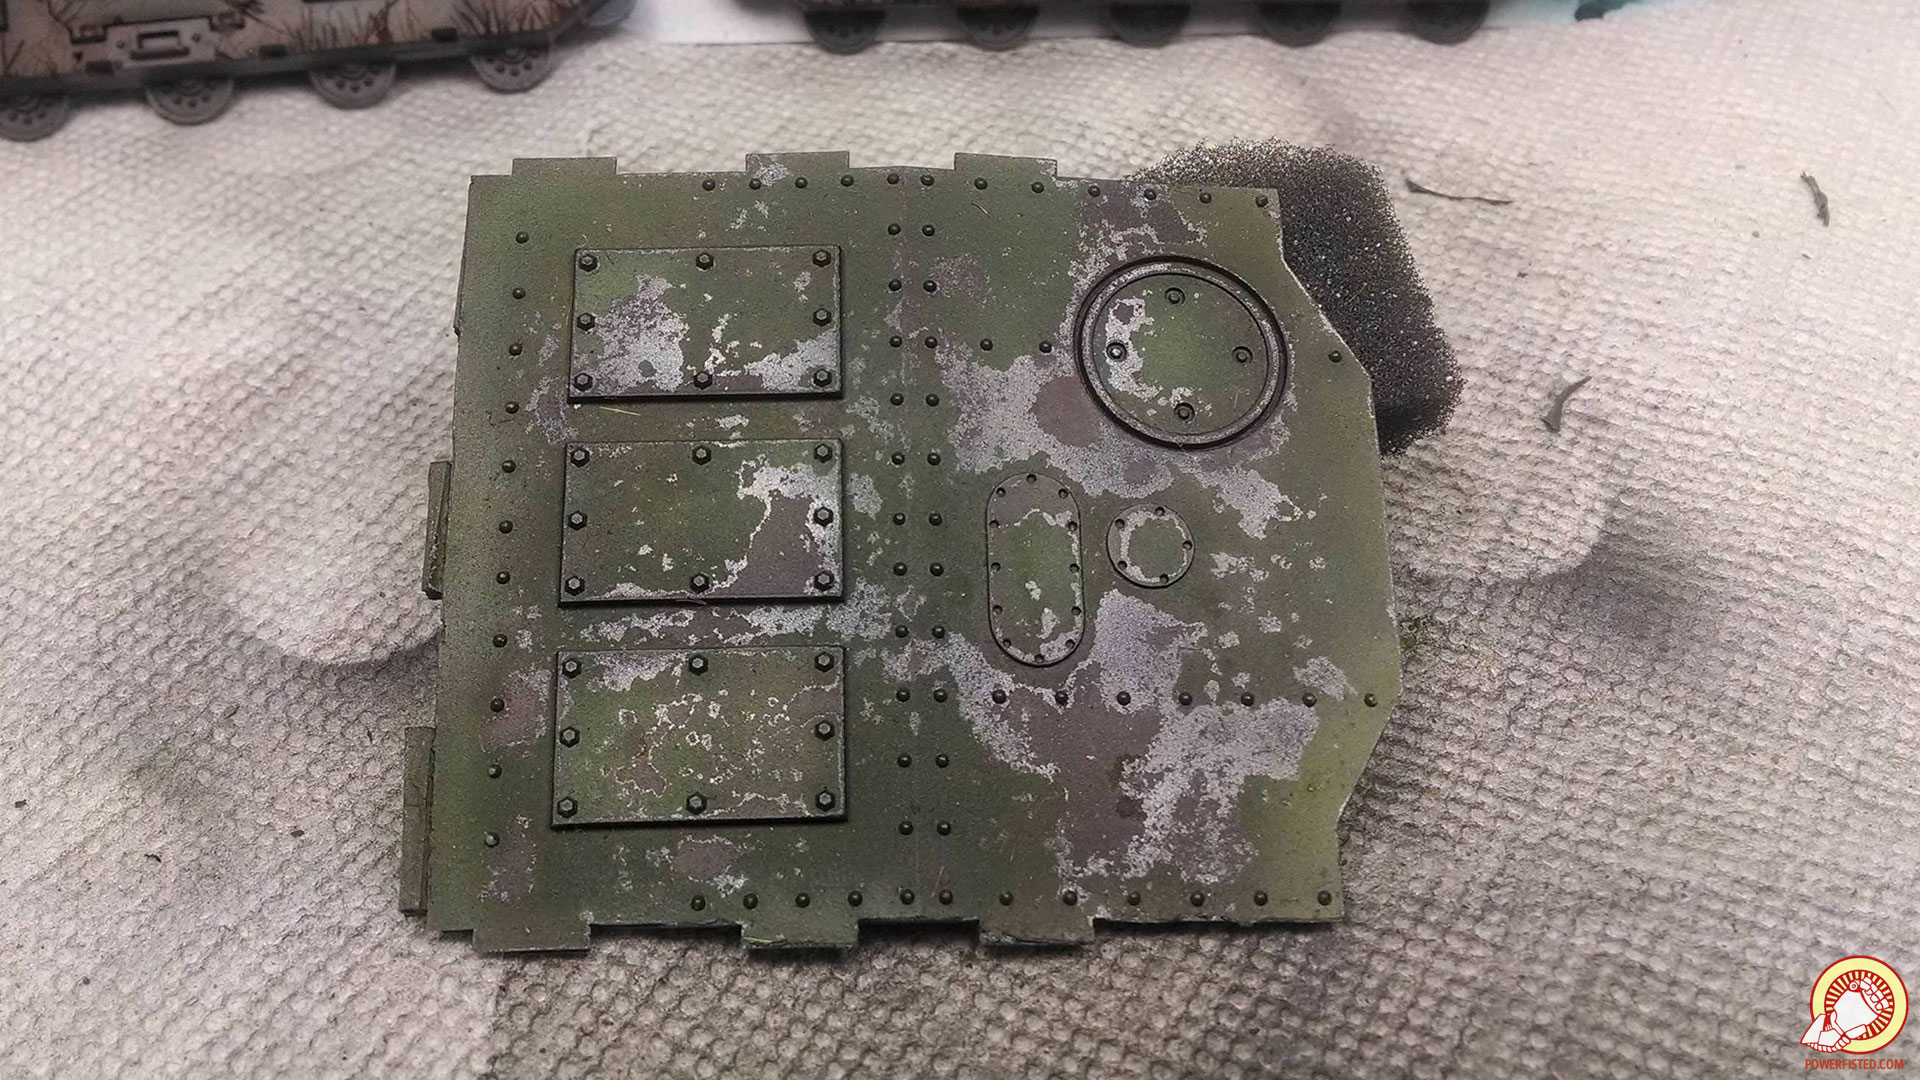
I sealed it again with gloss varnish and applied more chipping fluid. After it was dry I applied my green topcoat and some washes. I chipped it again using a brush:
If I kept going I would apply oil washes and pigments next, but I’m done with this test for now. This Amazing weathering effect from Adam O’Brian is what I’m going for:
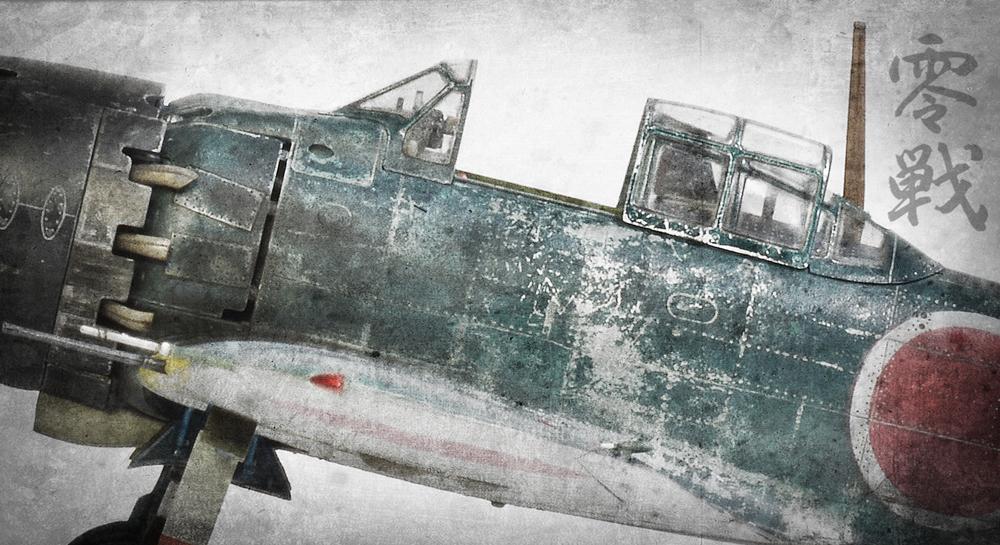
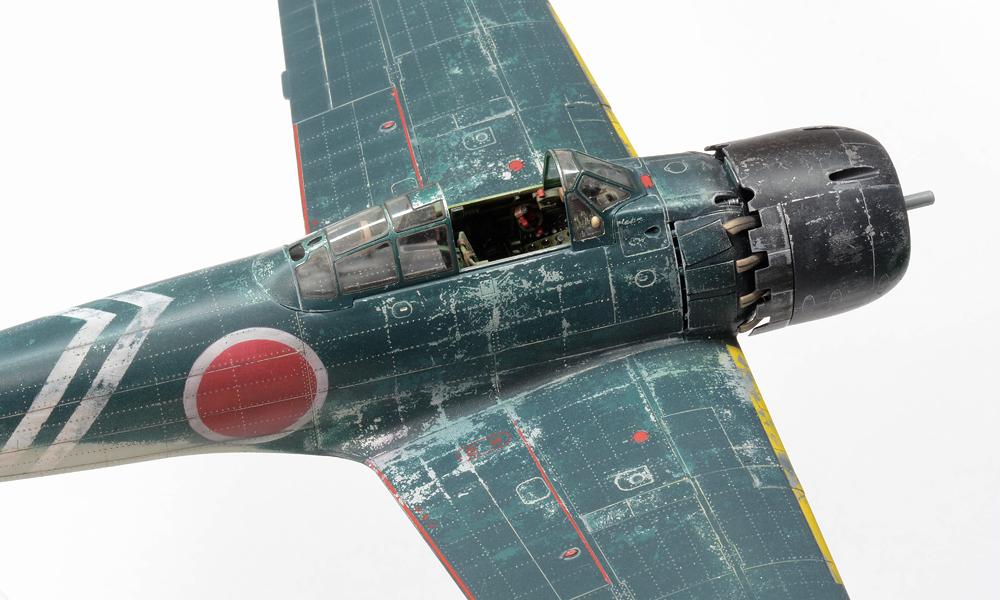
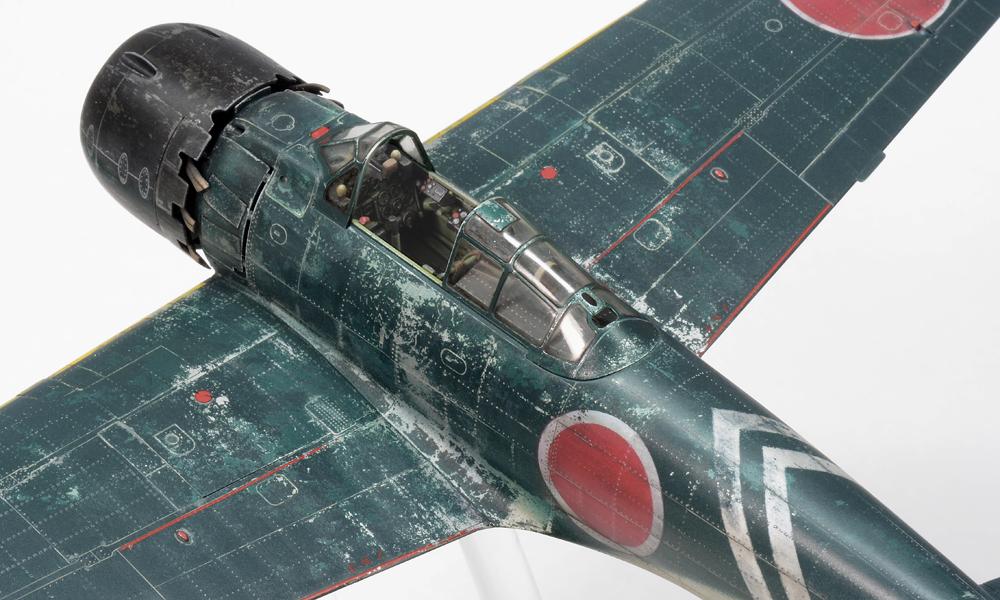
Here’s what I learned: to get really fine looking chips you want to use MATTE varnish and not gloss under your chipping fluid. This is because you want it to have a porous surface to stick to. Next the dark rusty under-color doesn’t look good on flat panels and should be reserved for major damaged areas. Finally, you need to use a small brush otherwise you remove too much paint. I tried a few different chipping fluids and found Vallejo to be great for the undercoat, but A&K worn effects for the faded topcoat. I’ve use A&K heavy chipping fluid in the past, but as I compare it with other things I don’t think it’s that good anymore.
